In the shop
I have the great pleasure to introduce a new shawl pattern by EclatDuSoleil: Blue Song!
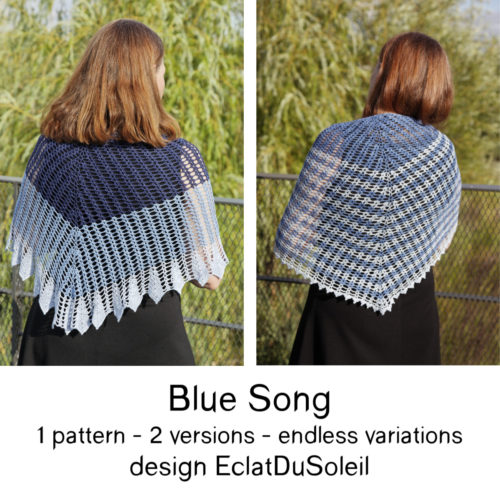
This pattern is both beautiful and clever, including two versions of the same design. The body of the shawl is worked in the same stitch pattern in both versions, but the edging and the colour placement change it all!
Find out more about Blue Song in the shop.
Blue Song is worked in laceweight yarn – for inspiration and ideas, check out the different kits in the shop.
If you prefer working in fingering weight yarn, I now carry a new, beautiful option: Balayage!
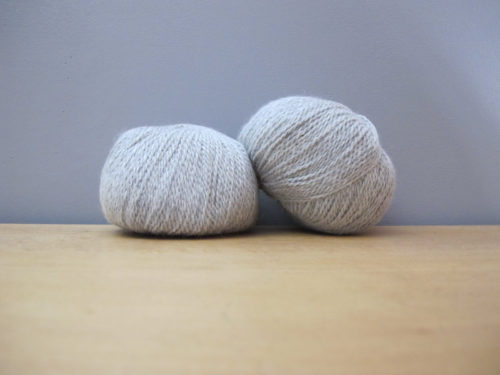
Made from 80% baby alpaca and 20% organic merino, this yarn is lusciously soft with subtle colours.
Check out all the colours of Balayage in the shop.
And if you are looking for a simple, colourful and fun knitting project, I suggest a pair of legwarmers!
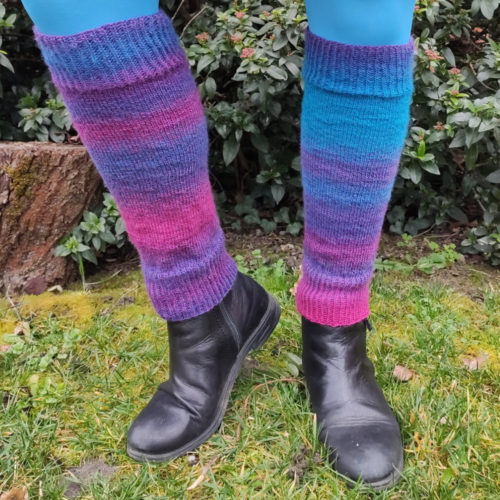
The pattern is available at a very low price, and totally free when you purchase it at the same time as a ball of Zauberball 100 – and that’s all you need to knit a pair!
In Short
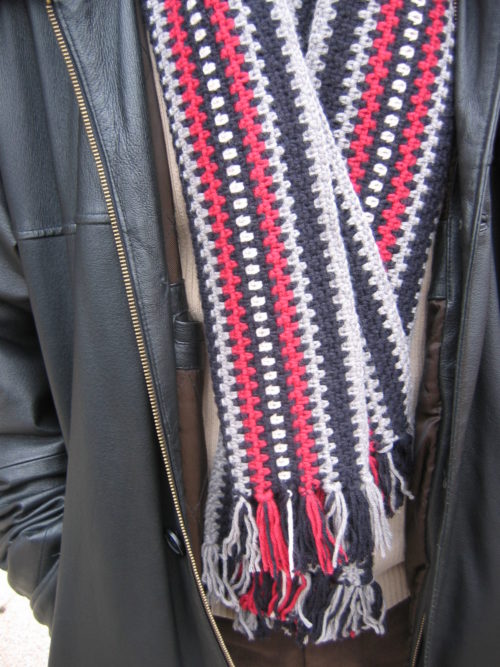
My Valentine’s gift for you: I made the pattern for my Love Scarf available on my blog, where it is easy to find. This is a scarf I made years ago for my husband. At the time, it was published on the Crochet Me website. (And yes, he wore it on Valentine’s Day this year!)
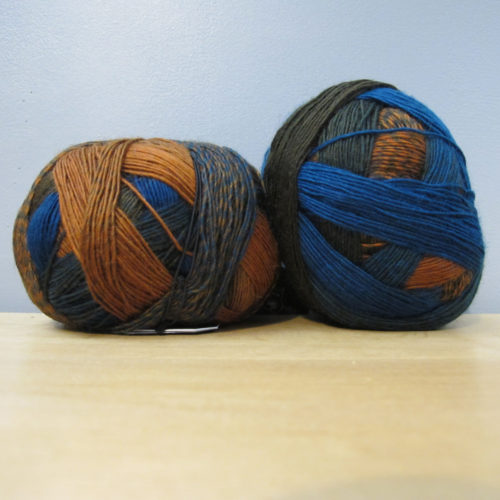
To knit legwarmers, or perhaps make something completely different, there is a new, beautiful colourway of Zauberball 100, named Sphinx.
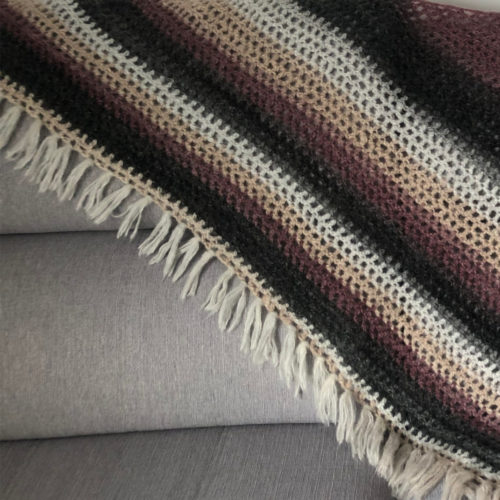
Also on the blog, Pascale’s shawl, and the link to the newsletter where she found her inspiration!
Selvedges without add-ons
This tutorial is the last one in our exploration of crochet selvedges (at least for now.)
After selvedges with chains and selvedges with mock stitches, I’d like to present selvedges “without add-ons”. By this I mean that we are going to make our first double crochet (the stitch I’ve chosen for all the selvedge tutorials) without adding anything before it at the beginning of the row.
But how is that even possible?
That’s what I’m going to show!
To work this particular selvedge stitch, you will need both your hands from start to finish. I didn’t have a third hand to hold my camera, so this tutorial is illustrated with photos extracted from a video. That’s why they might look a little different than usual.
Let’s go!
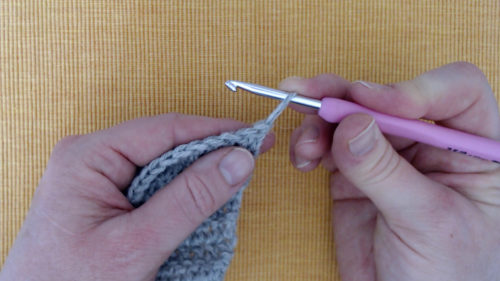
Pull up the loop on the hook so it’s approximately as high as a double crochet. Maintain tension on the yarn with both the hook and your left hand, and press down on the loop with a finger of your right hand to keep it in place (I use my middle finger).
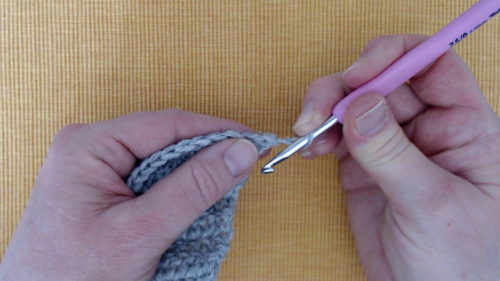
Now, we are going to use the loop to make the yarnover in the double crochet. Keep pressing down on the loop on the hook, swing the hook towards you over the loop…
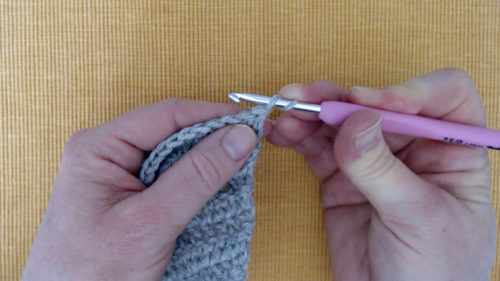
… and under the loop upwards to finish the yarnover.
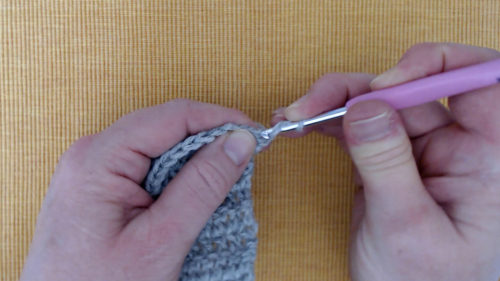
Without losing hold of the loops, insert your hook in the first stitch in the row, yarn over and pull up a loop (as for a normal dc).
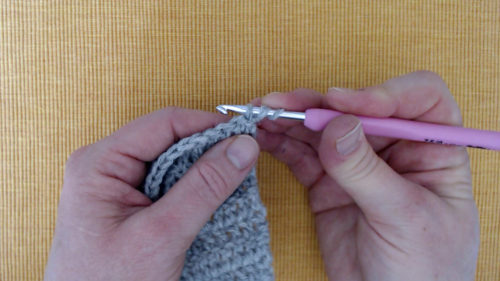
There are three loops on the hook. The middle loop is a double strand, since we created it by wrapping the initial loop around the hook.
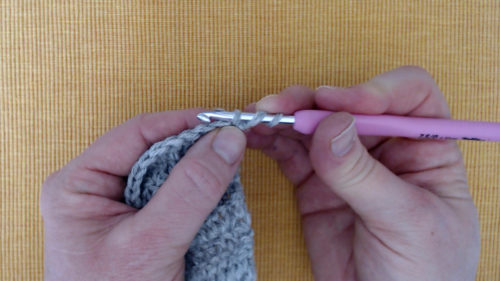
Now we are going to work these loops off the hook two by two, as for any dc. Feel free to pinch the loops with your left thumb, as in the photo, so that everything stays in place until the stitch is finished.
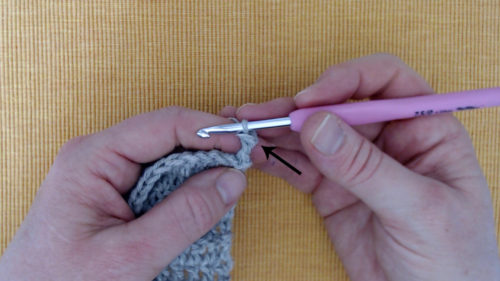
Our selvedge dc without add-ons is finished. The top of the stitch (at the arrow) tends to be loose. Don’t worry about this: we will handle it at the end of the next row.
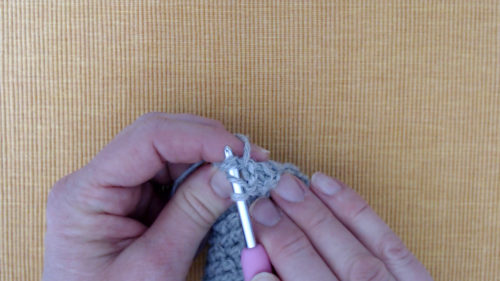
When you get to this stitch and its loose top at the end of the next row, simply be careful to insert your hook through both of the loops. Finish your dc in the current row as usual.
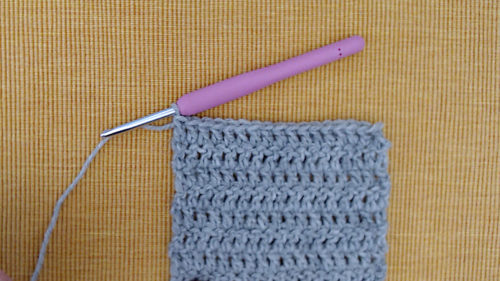
The last stitch in the next row stabilizes the stitch below it and straightens it up. The selvedge is smooth and neat.
Here is the video tutorial:
I think this last selvedge technique is the most difficult one of those we have discussed. If you are a beginner, I recommend starting with one of the techniques explained in the previous newsletters.
And if you try this out, what do you think? If you have followed this miniseries on selvedges, which is your preferred technique? Did you learn something new? Feel free to share your thoughts in the comments below!
See you soon!


I’ve seen that way to begin double crochet rows before but forgot about it. I don’t like that beginning chain 3 so I’m always looking for ways to fatten up the first dc stitch. I’m going to try this one again. Thanks for the video tutorial. Shared on my FB page.
Thank you for sharing Patrice!
I must admit that I prefer the ones in the previous newsletter, mock stitches and evening out the 2ch method – but it’s great that there are several techniques to choose from!
How do you stabilize the other beginning crochet created by the new method if this row is your LAST row? It seems you will always leave one of these “unstablized”.
Yes, you are definitely right about this. If your last row is simply a row of dc’s and there is no edging or seam that will finish off the last row, you would need to either
1) use another treatment for the first dc in the last row
or
2) add some kind of edging (like a row of sc)-